[et_pb_section bb_built=”1″ admin_label=”section”][et_pb_row admin_label=”row” background_position=”top_left” background_repeat=”repeat” background_size=”initial”][et_pb_column type=”4_4″][et_pb_image _builder_version=”3.0.92″ src=”https://assets.agentfire3.com/uploads/sites/577/sites/888/2018/10/My-AtlantaHome-Renovation-LIVING-ROOM.jpg” show_in_lightbox=”off” url_new_window=”off” use_overlay=”off” always_center_on_mobile=”on” force_fullwidth=”off” show_bottom_space=”on” /][et_pb_text background_layout=”light” _builder_version=”3.0.92″]
The last 2 months I’ve taken you inside the before/afters of my kitchen and master bath renovations. (In case you missed it, here are the links to those projects –> Kitchen & Master Bathroom. Finally, the last space we changed was the living room (which opens up to our kitchen area).
So why did we renovate the living room?
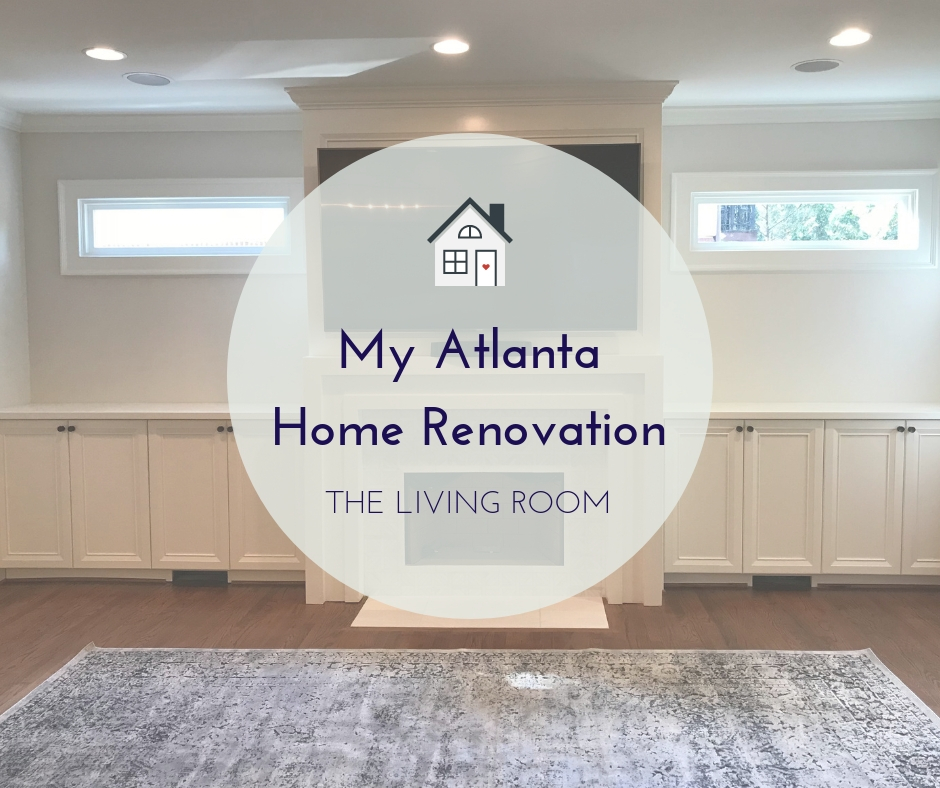
Our living room had these dark drawers that were only 2 ft high so there was very little storage you could actually put in these drawers. It wasn’t a big deal until we had our first kid. Kids collect a lot of stuff! We don’t have a garage so storage space is very important to us. I also was over really dark wood – I wanted to lighten it up and bring it up to 2018.
[/et_pb_text][et_pb_text _builder_version=”3.0.92″ background_layout=”light”]
The Living Room Before and After:
Here you can see the before and after of our living area (now we just need to work on re-furnishing it)
[/et_pb_text][/et_pb_column][/et_pb_row][et_pb_row][et_pb_column type=”1_2″][et_pb_image _builder_version=”3.0.92″ src=”https://assets.agentfire3.com/uploads/sites/577/sites/888/2018/10/Living-room-before.jpg” show_in_lightbox=”on” url_new_window=”off” use_overlay=”off” always_center_on_mobile=”on” force_fullwidth=”off” show_bottom_space=”on” /][/et_pb_column][et_pb_column type=”1_2″][et_pb_image _builder_version=”3.0.92″ src=”https://assets.agentfire3.com/uploads/sites/577/sites/888/2018/10/Living-room-after.jpg” show_in_lightbox=”on” url_new_window=”off” use_overlay=”off” always_center_on_mobile=”on” force_fullwidth=”off” show_bottom_space=”on” /][/et_pb_column][/et_pb_row][/et_pb_section][et_pb_section bb_built=”1″ admin_label=”section”][et_pb_row][et_pb_column type=”4_4″][et_pb_text _builder_version=”3.0.92″ background_layout=”light”]
As you can see, I’ve really lightened up the living room area and I now have more ample storage cabinets. I had to change out the windows to transom windows which I am really enjoying. I never used to open the window shutters on the old windows so now these windows allow light in and I don’t have to deal with shutters. Around the fireplace, I wanted to do a fun pattern, but still keep it in the white color theme. I also painted the interior walls of the fireplace area a solid black color and decorated it up with some birch logs. (This isn’t actually a real working fireplace, FYI). The walls were painted Benjamin Moore Classic Gray.
[/et_pb_text][et_pb_divider _builder_version=”3.0.92″ height=”15px” /][et_pb_image _builder_version=”3.0.92″ src=”https://assets.agentfire3.com/uploads/sites/577/sites/888/2018/12/Fireplace-white-pattern.jpeg” show_in_lightbox=”off” url_new_window=”off” use_overlay=”off” always_center_on_mobile=”on” force_fullwidth=”off” show_bottom_space=”on” /][et_pb_divider _builder_version=”3.0.92″ height=”15px” /][et_pb_text background_layout=”light” _builder_version=”3.0.92″ module_alignment=”left”]
There you go! Thanks for joining in my renovation tour. It was worth the 2 months of living in a construction zone and many many months of planning prior to demo day.
[/et_pb_text][/et_pb_column][/et_pb_row][/et_pb_section]


